A Physician Way
Programmers are custom to the idea of learning a new area from “hello world”, and to add more and more things onto that bare “hello world” code skeleton.
Physicians approach their mission from a different angle. Everyone, no exception to physicians, has to “live” in the entire world first (“entire” not in the geographical sense, but in the sense of physics). Then physicians start taking out uncontrolled factors from the world (by fixture things they are uninterested for a moment in a lab environment) to make sense of certain controlled element.
The longer one stays in the industry building increasingly complex software, the more one would realize the physician way is more close to the truth of learning. The “hello world” way sounds elegant in logic, drawing analogy to Euclid’s Elements. Unfortunately, hardly any software system has the pure beauty of geometric axiom system. They are messy like real physics. Presented with a bare-bone code fragment, one has no clue where the rest of the mess would connect to.
One still need bare-bone systems, to learn a new area. But you get them from a different direction. From a real-world code base, dissect it and strip it off to bare-bone systems of many dimensions.
Build the Example
As I mentioned and reiterated in the home page, Nuo Model Viewer is a perfect real-world example. The source code of Nuo Model Viewer is targeted to macOS 10.13 and above. Clone the code from the Github repo. And get the latest Xcode (9.1 at the time of writing) installed.
In the latest master branch there is the complete implementation of a renderer embodying quite a few real time rendering features, such as soft shadow, ambient occlusion, blending with a background, etc. To start with a simpler example, let’s go back in time. Checkout commit ff4cc0d.

Open the project file ModelViewer.xcodeproj. Build and run it from Xcode, you should see the main UI as follows.
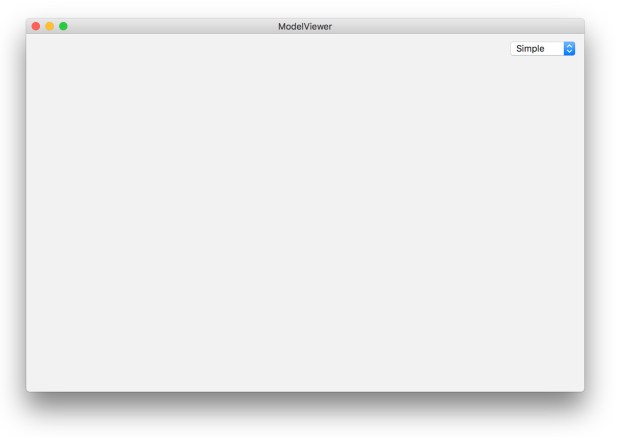
Without fed with proper data, this is only a blank window. Unlike some other tutorials, we don’t embed a pre-coded triangle or a donut shape into the code which are shown immediately. Instead our renderer consumes real-world data, which are created by 3D model designers. Many of them charge a fee to use which is not cheap, since they are created by hard work. Still, some designers are willing to share their work for free. We are going to use a good UH-60 model.
Download the model, uncompress it to such a folder that fit your way of organizing your assets. Go back to the Nuo Model Viewer, use menu “File -> Open” to open the uh60.obj file which is under the folder where the downloaded model is uncompressed.
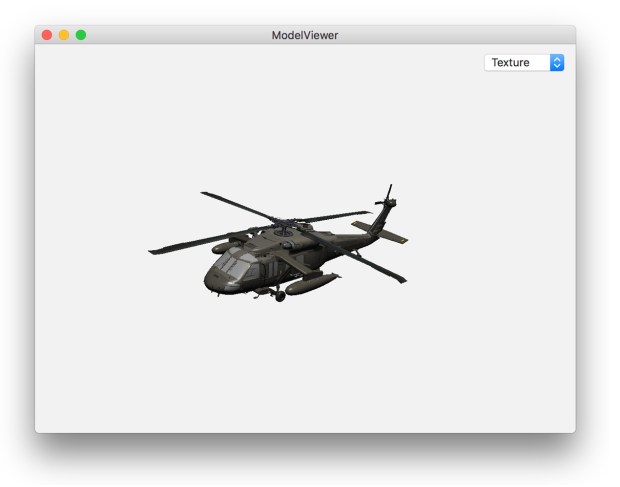
Nuo Model Viewer will show the model as above. Well, not exactly the same as the screenshot above at the beginning. You can position the direction of the model facing you by mouse dragging, change the distance of the camera by the two-figure zoom gesture, and turn on/off the texture by selecting the popup menu at the top right corner.
Congratulations! You’re living in the world. There is nothing in this world you can not explore (i.e. debugging and add logs) and learn from. For many developers, they from time to time are dropped with a code base far more complex than the Model Viewer (even the latest master version), told to figure out adding feature within months, if not weeks. You are lucky that this tutorial site will continue to dissect this sample code base for you, not only for this very early version, but to the very latest version with more real-world features. Yet you are encouraged and recommended to dissect it in your own way, changing, taking away, or adding code to see what happens to the rendering result.
This concludes your first tutorial.


